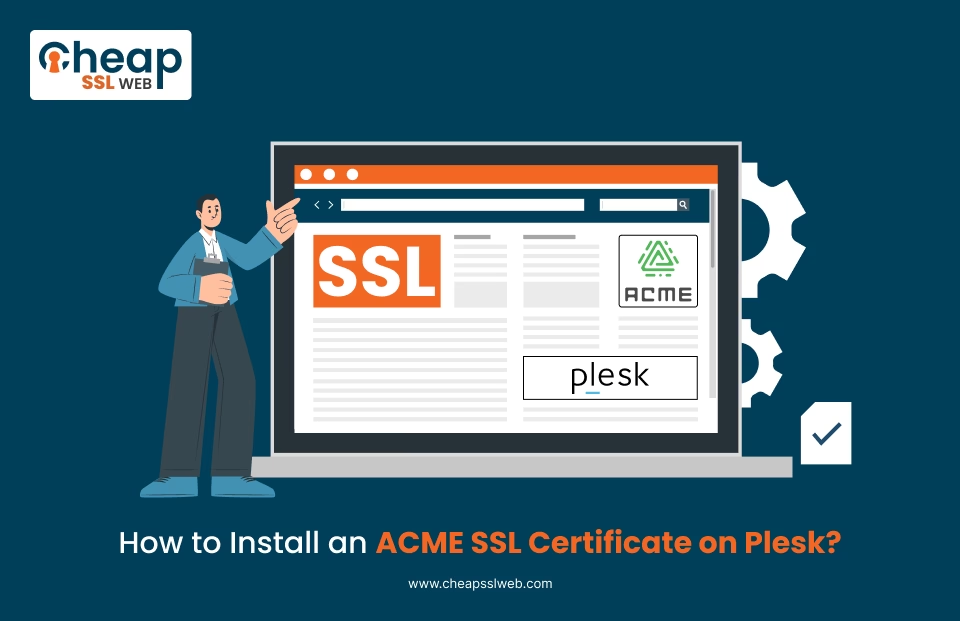
How to Install an ACME SSL Cert on Plesk?
Quick Summary
It can be time-consuming to perform manual SSL certificate management in Plesk, particularly when you have to manage renewals for multiple domains.
The combination of the ACME protocol and External Account Binding (EAB) allows you to completely automate SSL certificate issuance, installation, and renewals even if you’re using a commercial certificate provider such as DigiCert or Sectigo.
This guide shows you the steps to install an ACME SSL certificate using ACME.sh and automate every stage of its lifecycle so that your certificates will renew and deploy without any manual intervention.
Prerequisites
Before starting, make sure you have the product/service prerequisites below:
- Plesk Obsidian (Linux-based server or VPS)
- SSH access (root or sudo user)
- Domain pointing to your server (A/AAAA record)
- Port 80 is open for HTTP validation
- EAB credentials: EAB Key ID (KID) & EAB HMAC Key
Steps for Securing Website Automatically in Plesk with ACME
Step 1: Identify Your Document Root in Plesk
To install your Plesk SSL certificate, you will first need to find the document root of your website so HTTP works.
To find your document root, go to Plesk and scroll down to ‘Websites and Domains’ → ‘Hosting Settings (website name)’.
The document root (also called the ‘root folder’ or ‘document folder’) will be listed here (typically starting with /var/www/vhosts/yourdomain.com/httpdocs.
The document root is important because it is where acme.sh puts the validation files when generating the certificate; if your directory path does not exist, you will not be able to validate.
Step 2: Enable SSH Access
If you do not currently have SSH access to your Plesk panel, you will need to enable it.
To enable SSH access, go to ‘Websites and Domains’ → ‘Web Hosting Access’ → select the shell (use /bin/bash) and save that configuration.
This step is important because ACME.sh runs on the command line. If you do not have SSH access, you will be unable to run or install the client.
Step 3: Connect to Your Server
After you have enabled SSH, you can use a terminal or SSH client to connect to your VPS.
You will need to log in to your VPS using either the root user or another sudo-enabled user, depending on how you configured your VPS.
ssh [email protected]After connecting, you will be able to execute commands needed to set up and automate the installation of an SSL certificate.
Step 4: Install ACME.sh
Now you can install the ACME.sh program, which is responsible for issuing and renewing SSL certificates.
Follow the official ACME.sh installation guide to install ACME.sh. At this time, you’ll want to verify that the installation was successful.
curl https://get.acme.sh | sh
source ~/.bashrc
acme.sh --version
If the installation fails, it’s usually due to missing dependencies like curl or git, which should be installed before retrying.
Step 5: Register Your ACME Account (EAB)
Now register your ACME account using the EAB credentials provided by your certificate authority.
This step authenticates your server with the CA and allows it to request certificates.
acme.sh --register-account \
--server https://acme.sectigo.com/v2/DV \
--eab-kid EAB_KID \
--eab-hmac-key EAB_HMAC_KEY \
--accountemail [email protected]
Once completed, your server is authorised to communicate with the CA for future certificate requests.
Step 6: Prepare for HTTP Validation
To validate your Domain Name successfully, you will need to create an ACME Challenge Folder in your Webroot where it is accessible via HTTP to provide proof to the certificate authority that the Domain Name is yours.
mkdir -p /var/www/vhosts/yourdomain.com/httpdocs/.well-known/acme-challengeTo check that your ACME Challenge Folder can be accessed by the Internet:
Create a test file of any type and save it to ACME Challenge Folder, then use either your browser or CURL to retrieve it.
If you cannot retrieve the file, make sure that the security rules for the ACME Challenge Folder, your DNS settings, and your Webroot settings are properly configured.
Step 7: Bypass HTTPS Redirects for ACME
If you use HTTPS on your website, it may block requests to the ACME validation. You will have to allow exceptions for the.well-known/acme-challenge directory.
- If you’re using Apache, modify your .htaccess file.
- If you’re using Nginx, create a custom directive in Plesk.
This will help ensure that the validation request will always be served via HTTP without redirection so that it can be properly validated with the HTTP-01 challenge.
Step 8: Issue the SSL Certificate
With everything configured, you can now request your SSL certificate using ACME.sh. Specify your domain(s), webroot path, and ACME server.
acme.sh --issue \
-d yourdomain.com \
-d www.yourdomain.com \
-w /var/www/vhosts/yourdomain.com/httpdocs \
--server https://acme.sectigo.com/v2/DV
Once successful, the certificate files will be stored in the ACME.sh directory on your server.
Step 9: Import Certificate into Plesk
When you’re issued the Certificate, you need to add the Certificate to Plesk.
You’ll do this in Plesk’s UI by uploading the Certificate and Private Key and assigning the Certificate to the Domain through Hosting Settings.
You must do this because Plesk does not use Certificates that are generated outside of the Plesk Environment.
Step 10: Automate Deployment via Plesk CLI
Automating the deployment of a certificate can save you from having to do any manual updates when you renew your certificate via the Plesk CLI by using automated commands that will allow you to import the certificate and assign it to your domain programmatically.
Achieving complete automation within your Plesk environment is a vital step towards achieving that goal.
Step 11: Develop a Deployment Script for Automation
Given that Plesk doesn’t automatically deploy renewed certificates, you will need to script the deployment in a deploy script, which is an automation script for use with Plesk CLI commands that automatically updates the new certificate.
The deploy script is then linked to ACME.sh using the –reloadcmd parameter. Afterwards, every renewal will also trigger automatic deployment to Plesk as well.
👉 This step takes you from semi-automation to full automation.
Step 12: Verify Installation and Test Renewal
To complete your setup, check to see if your certificates are good by going to your website using HTTPS.
You can also test and verify that everything works as expected by performing the renewal request manually.
acme.sh --renew -d yourdomain.com --forceIf all the steps are done correctly, the request to renew the certificate will succeed, and you will see the new certificate installed into Plesk by the deploy script automatically after the certificate is granted (if the deploy script is working properly)
Conclusion
If done properly, all future certificates will automatically renew and be deployed to Plesk once someone or some system requests one. Selecting the right SSL provider for your certificates can assist in making this process smoother.
CheapSSLweb provides you with SSL Automation Certificates from well-known providers such as DigiCert and Sectigo at affordable prices and with qualified assistance in performing tasks such as this.
