How to Install an SSL Certificate on Barracuda SSL VPN?
What is Barracuda SSL VPN?
The Barracuda SSL VPN is a remote access solution that allows users to connect to an organization’s internal network utilizing any device with Internet access.
The Barracuda SSL Secure VPN client secures remote connections with end-to-end encryption utilizing SSL/TLS protocols to ensure sensitive activity is encrypted while in transit.
Barracuda SSL VPNs allow users to connect securely without specialized VPN client software, unlike traditional VPNs.
This platform-based access makes it a great remote access solution for employees, contractors, and mobile personnel that leverage access to corporate applications, file shares, and email securely without compromising access.
Requirements for Installing SSL
Administrative Access to Barracuda SSL VPN
In order to install an SSL certificate onto a Barracuda SSL VPN, you must have administrative-level access to the Barracuda device. With administrative access, you can navigate through the web interface, configure options and upload certificate files.
If you do not have administrative access to the Barracuda device, request credentials from your IT or network security personnel prior to beginning the process.
Create a Certificate Signing Request (CSR)
A Certificate Signing Request (CSR) must be generated to get the SSL certificate from a trusted Certificate Authority.
You can generate the CSR through the Barracuda Web Interface, which is located at Basic > SSL Certificate > Generate CSR, or use a third-party tool, such as the DigiCert Certificate Utility for Windows.
The CSR includes essential information, including your domain name, organization information, and public key information, to be used by the CA to issue a signed certificate.
Submit the CSR
After the CSR is generated, submit it to a trusted Certificate Authority (CA). The CA will validate your information and provide an SSL certificate and will typically provide you with a primary certificate (your_domain_com.crt) and an intermediate certificate (DigiCertCA.crt), and if needed, a root certificate.
Be sure to select the right certificate type (either PEM (.crt, .pem) or PKCS#12 (.pfx)) that is compatible with Barracuda SSL VPN.
Private Key File
When the CSR is created using Barracuda Web Interface then the device has already saved the private key and you do not need to upload it separately.
If the CSR was created outside of the Barracuda Web Interface, be sure to securely keep the associated private key file (your_domain_com.key) as this is an essential part of the SSL installation. The certificate will not work without the private key.
Store SSL Certificate Files Securely
It is important that SSL certificate files, especially the private key, are stored securely so that they cannot be accessed by unwanted people.
If you plan to install the SSL certificate on multiple servers, make sure transferring the certificate and private key to each server is done securely so that they cannot be compromised during the transfer process.
This means you cannot send them via email or in some other unsecured way because you cannot be sure they are not intercepted. It is wise to keep backup copies of these files in case you need to reinstall for whatever reason.
How to Install SSL Certificate on Barracuda SSL VPN?
Sign in to the Barracuda SSL VPN Web Interface
To begin the process of installing your SSL, open a web browser and navigate to the Barracuda SSL VPN Admin Panel by entering the following URL: https://your-ssl-vpn-server:8443
This will take you to the login screen, where you will enter your administrator credentials to get into the Barracuda SSL VPN Management Dashboard.
If you have forgotten your credentials, or if you do not have administrator access, you will need to reach out to your IT team to get access.
It is important to obtain access as a full administrator and NOT just a regular user. Managing SSL certificates will require you to be run as an elevated user.
Once you are logged in, you will be able to manage security settings, and continue to install your SSL certificate.
Open the SSL Certificate Section
Once inside the Barracuda SSL VPN dashboard on the left-hand navigation bar, find the Basic menu and select SSL Certificate.
This section is responsible for the SSL certificate management (generation of CSR, upload of signed certificate, SSL certificate configuration, etc.).
If you generated a CSR within the Barracuda web interface, the private key will be stored within the device.
If you generated a CSR externally (e.g., DigiCert Certificate Utility for Windows), then you will also have to upload the associated private key file with the SSL certificate.
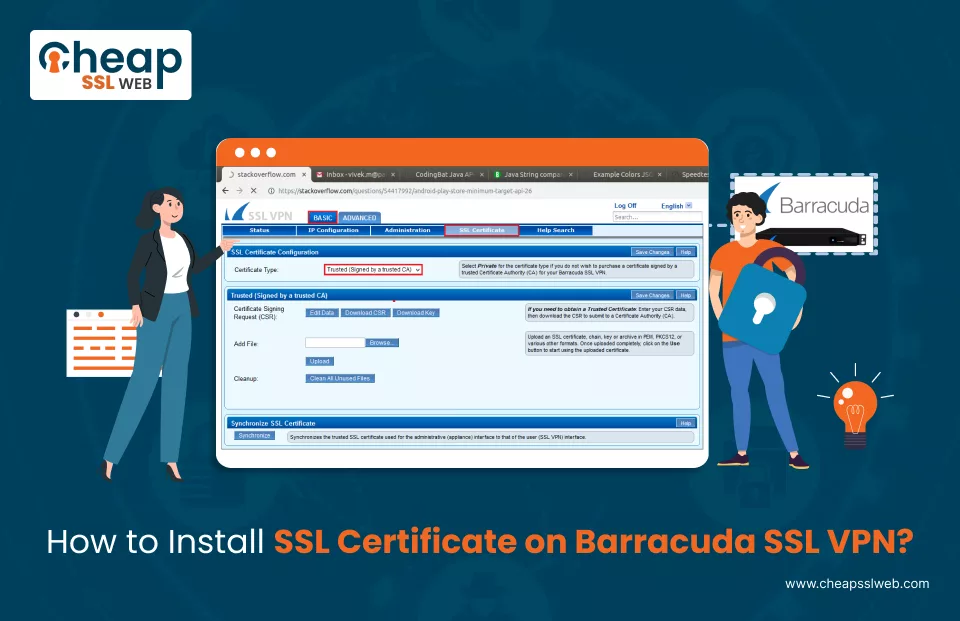
In the SSL Certificate Configuration section, you will also find different certificate types (types of certificates).
Since you are installing a signed SSL certificate from a supposedly trusted CA, the certificate type drop down will need to be set to Trusted (Signed by a Trusted CA). This will allow the device to recognize the new certificate and use it for secure connections.
Upload SSL Certificate Files
Now that your choice of certificate type has been established, you must upload the required certificate files in the proper order in order to have the certificate chain operate correctly. Click Add File and then browse your computer for the required files and upload them one at a time to the page:
- Primary SSL Certificate (your_domain_com.crt) – This is the signed certificate that was issued from the Certificate Authority (CA) after CSR validation has taken place. This is the main certificate that authenticates the VPN server.
- Intermediate Certificate (DigiCertCA.crt) – This certificate ties the chain of trust between the CA Root Certificate and the Primary Certificate, meaning this is necessary for full browser and system compatibility.
- Private Key (your_domain_com.key) – This file is only required if the CSR was generated outside of the Barracuda SSL VPN interface (e.g., using the DigiCert Certificate Utility for Windows).
If the CSR was created from within the Barracuda VPN, the private key is already stored, and you can skip this step.
After selecting each file, you would click Upload and wait for a confirmation message to display in a green notification bar at the top of the screen.
The system should verify that the uploaded file is Valid, or OK. If you receive an error message, take a moment to double check that you are using the correct file format (PEM .crt, .pem or .key files) and whether the files are properly associated with the CSR generated for this Barracuda SSL VPN device.
Apply and Synchronize the SSL Certificate
After you have uploaded the certificate files, the next step is to apply the new SSL certificate configuration and simply ensure settings synchronization.
Click Use to activate your uploaded certificate. Next, go to the Synchronize SSL Certificate section and click the Synchronize button, to ensure the SSL settings have been synchronized throughout the Barracuda SSL VPN system.
Please note that this synchronization process may take a few minutes. It is possible that the Barracuda SSL VPN will restart its web services during the process and it is normal.
If the screen does not refresh after the synchronization process you may need to reload the page or log-out and log-back into the Barracuda SSL VPN.
At this step the Barracuda SSL VPN should be processing encrypted communication via the newly installed SSL certificate. Please continue SSL verification in the next step to verify that items took effect.
Check SSL Installation
After synchronizing the SSL certificate, it is important to check that everything was installed correctly. Open your web browser and go to your VPN URL: https://your-ssl-vpn-server:8443.
If the SSL certificate was installed correctly, you should see a secure padlock to the left of the URL of your browser indicating that the SSL connection is valid.
Click on the safe padlock icon and review the certificate information left-clicking on the ‘Details checker’ option to make sure the Common Name (CN), the validity date, and the Certificate Authority (CA) are displayed correctly.
There are also SSL testing tools available for checking in more detail (all SSL Testing Tools will check for configuration errors or issues with your SSL Installation)!
These tools will analyze your SSL configuration for any issues creating anything like a missing intermediate certificate, weak encrypted settings, or having mismatched certificate key pair. If there are any errors, re-upload the proper certificate and certificates and redo the synchronization process.
Conclusion
In order to save money and have a quality SSL Certificate visit CheapSSLWeb. Whether you are looking for DV, OV, or EV SSL Certificate, CheapSSLWeb can provide trusted budget-friendly SSL certificate options from CA’s such as DigiCert, Sectigo, or Certera.
