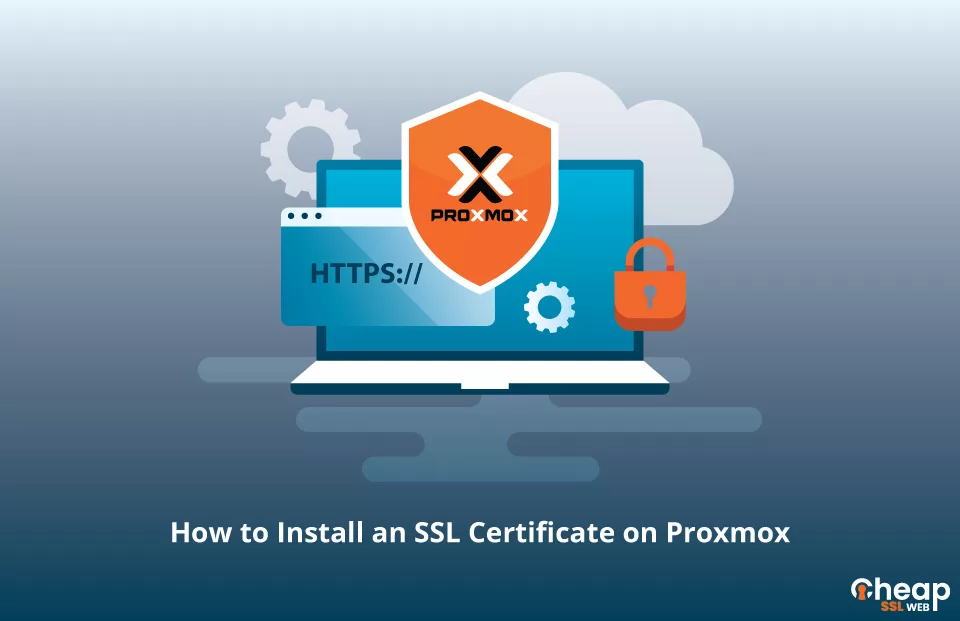
How to Install an SSL Certificate on Proxmox?
Installing an SSL certificate on Proxmox allows you to secure communication between the Proxmox host and clients connecting to it, ensuring data privacy and confidentiality.
The process involves obtaining an SSL certificate from a trusted certificate authority, uploading the certificate files to Proxmox, and configuring the Proxmox host to use the certificate.
It is important to follow the steps carefully to ensure a successful installation and maintain the security of your Proxmox environment. Let’s get started.
Generate CSR on Proxmox
You can create a CSR code for Proxmox to secure your virtual environment with an SSL certificate from a trusted Certificate Authority (CA).
To obtain an SSL certificate, you must generate a CSR code and send it to the provider.
You have two options to generate the CSR code: use an automatic CSR generator or create it using the OpenSSL Utility. Just install OpenSSL and run below command:
openssl req -new -newkey rsa:2048 -nodes -keyout mywebsite.key -out mywebsite.csrProxmox SSL Certificates Installation Steps
Step 1: Gather the Required Installation Files
After receiving the SSL certificate from your Certificate Authority (CA), extract the contents of the ZIP folder on your device.
To activate the SSL certificate on Proxmox, you need two files: fullchain.pem and private-key.pem.pem.
The fullchain.pem file combines your primary and intermediate certificates in a single PEM format, excluding the root certificate. The private-key.pem file is your private key in PEM format without a password.
If your CA sends the root and intermediate certificates in separate files, or in a single .ca-bundle file, you’ll need to combine them into a single PEM file by copying and pasting the contents of each certificate into a text editor.
Step 2: Transferring the SSL Files to Proxmox
Once your two SSL files are ready, transfer them to the appropriate locations in /etc/pve/nodes/<node>.
Make sure to use the correct SSL files and nodes. Use the following commands:
cp fullchain.pem /etc/pve/nodes/<node>/pveproxy-ssl.pem
cp private-key.pem /etc/pve/nodes/<node>/pveproxy-ssl.key
Then, restart the web interface with the following command:
systemctl restart pveproxyYou should receive a system log indicating the use of the alternative SSL certificate (Using ‘/etc/pve/local/pveproxy-ssl.pem’ as the certificate for the web interface.).
Congratulations, you have successfully installed the SSL certificate on Proxmox Virtual Environment. When you access the web interface via journalctl -b -u pveproxy.service, you should see the new certificate.
It’s important to note that the alternative certificate is only utilised by the web interface, which includes noVNC, but not by the Spice Console/Shell.
Verify Your SSL Installation
After you have installed an SSL certificate on Proxmox, it is crucial to conduct a thorough evaluation to detect any potential errors or vulnerabilities. For guidance, we have written an in-depth article showcasing the best SSL tools to help you scan your SSL installation.
Finding the Ideal SSL Certificate for Proxmox
When choosing an SSL certificate, it is important to consider factors such as validation type, cost, and customer service. At Cheap SSL Web, we provide a comprehensive range of SSL certificates, affordable pricing, and unparalleled customer support.
Our SSL certificates come from well-respected Certificate Authorities and are fully compatible with the Proxmox Virtual Environment.
