How to Install an SSL Certificates on Zeus Web Server?
In today’s technology-focused world, you cannot afford to ignore site security. An SSL Certificate ensures data transmitted between your server and users is secure. It keeps usernames, passwords, credit cards, and personal information safe from prying eyes.
An SSL also establishes trust with your users by allowing the padlock icon and “HTTPS” to display in the browser’s address bar.
Installing an SSL certificate on a Zeus Web Server is a challenging task, but we can make it manageable if we break it down into easy-to-follow steps.
Whether you’re installing an SSL certificate for the first time, or you’re replacing an existing SSL certificate, this guide will cover the full installation process.
Starting with the important first step of logging into the Zeus Web Server admin interface and generating a Certificate Signing Request (CSR), and finishing with the steps needed to upload.
Map the SSL certificate to your destination virtual host, we will go through all the steps slowly. So, please join us as we secure your Zeus hosted website easily and without the fear of uncertainty.
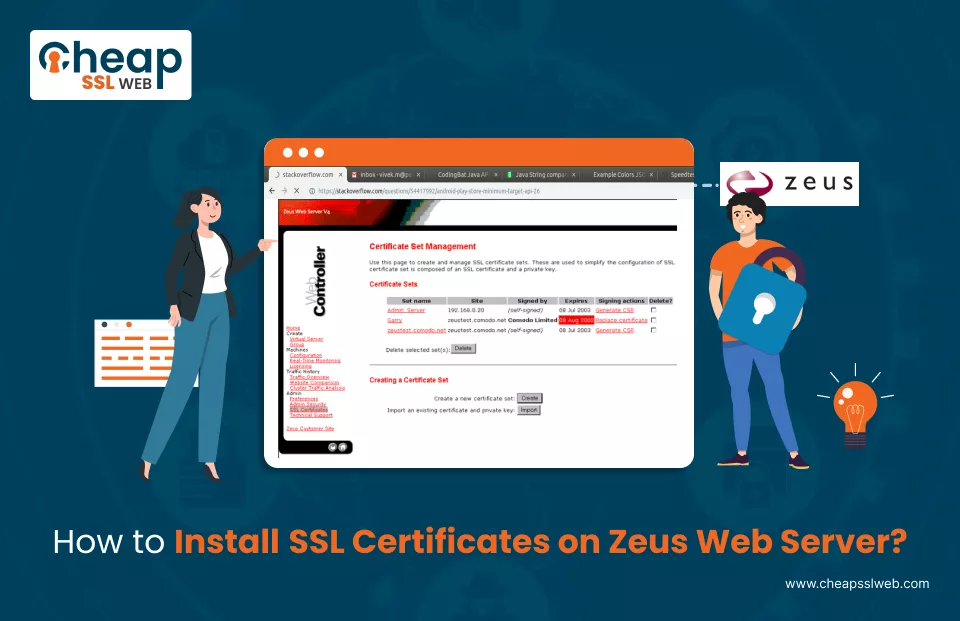
SSL Certificate Installation on Zeus Web Server
Step 1: Log into the Zeus Web Server Admin Interface
- To access your Zeus Web Server, you should log-in using your assigned administrator username and password.
- When you are successfully logged in, you should see the navigation menu on the left side of the screen.
- Click on the option “SSL Certificate”. This will provide you with the SSL management page.
Step 2: Generate a Certificate Signing Request (CSR) or Replace an Existing Certificate
- In the right-side panel of the page the section titled “Certificate Set” is located.
- You will be given two major options in that section: Generate CSR (for use when installing a new SSL certificate) or Replace Certificate (which is used when renewing a certificate or replacing it in some way).
- Then, select the option that is appropriate for your needs.
Step 3: Paste Your SSL Certificate into the Provided Field
- Start by finding and opening the SSL certificate file which you have been supplied by your Certificate Authority, or CA.
- Make sure to copy in full the whole text of the certificate, specifically copies all the lines contained therein:
-----BEGIN CERTIFICATE-----

(encoded data)

-----END CERTIFICATE------ Make sure to copy everything, including the dashes and footer and header lines.
- Go back to the Zeus Web Server console and input the certificate in the relevant input field under “Upload Certificate” or “Replace Certificate.”
Step 4: Confirm the Certificate Installation
- Once the certificate is pasted, click the “OK” button to proceed.
- A confirmation screen will appear. Choose “Accept This Certificate” to finalize the import process.
Step 5: Assign the SSL Certificate to a Virtual Host (Website)
- Now that the certificate has been accepted, you need to bind it to a specific website.
- From the left-hand menu, click “Home” to return to the main dashboard.
- On the right, under the “Virtual Server Status” section, click on “Configure” for the site you wish to secure.
Step 6: Enable SSL and Select the Certificate
- On the installation screen, locate the option to enable SSL for your virtual server.
- Ensure that SSL is enabled by checking the box or adjusting the setting.
- Under the SSL Certificate menu, select the certificate you installed.
Step 7: Apply the Changes
- After selecting the certificate, scroll down and click “Apply” or “Save Changes.”
- It’s important to restart the Zeus Web Server at this point to apply the new SSL settings properly.
Final Step: Verify Your SSL Installation
- Open the web browser and go to your secure website by entering the URL as: https://yourdomain.tld
- Click on the padlock icon in the address bar to see the certificate details.
- Make sure that the certificate is active, valid, and issued for the right domain.
- If you discover that the expected results are not imminent, attempt to clear the browser cache or restart the server once more.
Conclusion
Don’t let prices discourage you from securing your site. With CheapSSLWEB, you can obtain trusted SSL certificates from top Certificate Authorities at the cheapest prices on the web — without sacrificing your security.
