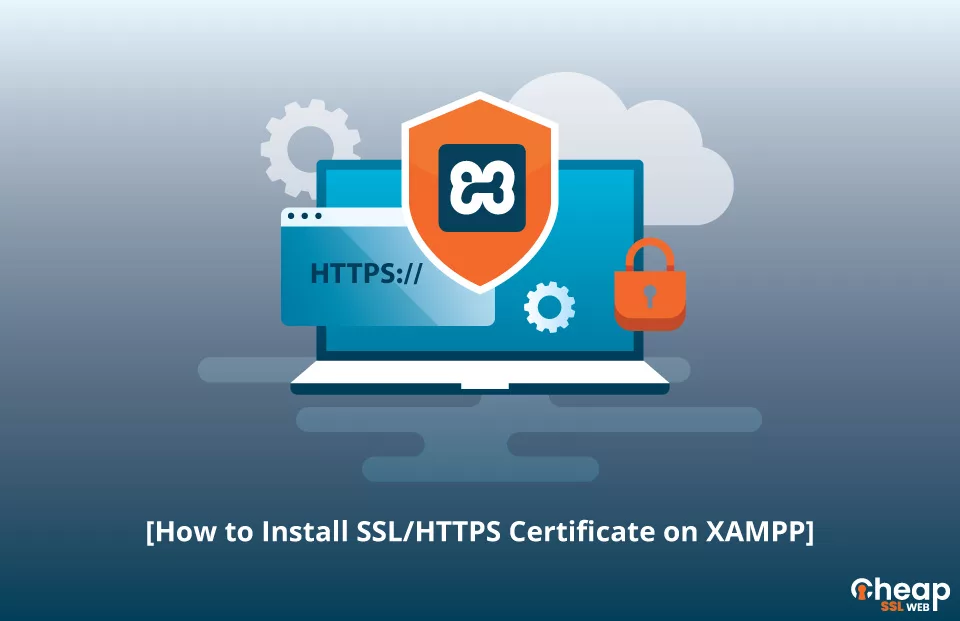
How to Install SSL Certificate on XAMPP?
With XAMPP as the powerful tool to host your website, the XAMPP SSL certificate installation process is made simple and straightforward. Whether you’re a seasoned webmaster or a newcomer to the world of online security, this guide will help you every step of the way.
So, let’s dive into the exciting and rewarding process of installing a XAMPP SSL certificate! Get ready to secure your website and give your visitors the confidence they deserve.
Generate a Certificate Signing Request for XAMPP
The CSR code is essential to the SSL certificate installation process, as it securely conveys your website’s information to the Certificate Authority for verification.
You have a few options when generating a CSR code, which runs locally on your device. You can use the CSR Generator Tool or follow a step-by-step tutorial on using the OpenSSL utility for Apache.
Whichever method you choose, the key is to make sure you have both the CSR code and the private key files generated before proceeding with the installation instructions. Don’t Forget to Puchase a Valid SSL Certificate.
Steps to Install an SSL Certificate on XAMPP
Upon successfully validating your SSL Certificate by the Certificate Authority, you will receive an archived ZIP folder containing all the necessary files in your inbox.
To proceed with the installation, you must download this folder and extract its contents onto your device.
Here’s what you’ll find inside:
- Your main SSL Certificate file
- A CA Bundle or SSL Chain file, including the root and intermediate certificates
- The private key file that you generated along with the CSR code during the earlier stages of the process.
Note: If the bundle is split into multiple SSL files, you’ll need to merge the contents into a plain text document with a .crt extension. The intermediate certificates should be added first, followed by the root certificate.
With these files, you can complete the SSL certificate installation on your XAMPP setup. When your SSL files are ready, you can start with the installation process.
Step 1: Set up a Folder for Storing SSL Files
Create a new folder for Localhost SSL on your XAMPP server to store the SSL files. This folder will store the SSL files for your XAMPP HTTPS setup. For instance, you can name it xamppyourwebsitessl.
Step 2: Locate the Configuration File for Your Localhost Website
There are two methods for finding the configuration file for your website:
Method 1: Click Config in the XAMPP control panel and select Apache (httpd-ssl.conf).
Method 2: Use the file explorer to find the configuration file located in the folder where you installed the XAMPP control panel.
For example, it could be in the path “dxamppyourwebsiteconfextrahttpd-ssl.conf.”
Step 3: Edit the Virtual Host for Port 443
Open the configuration file in a text editor, such as Notepad, and make the necessary changes.
Here’s an example of what the virtual host for port 443 should look like after editing:
DocumentRoot "/var/www"

ServerName yourdomain.com

ServerAlias www.yourdomain.com

SSLEngine on

SSLCertificateFile "D:/xampp/yourwebsite/ssl/yourdomain_com.crt"

SSLCertificateKeyFile "D:/xampp/yourwebsite/ssl/yourdomain_com.key"

SSLCACertificateFile "D:/xampp/yourwebsite/ssl/yourdomain_com.ca-bundle"
Note: Remember to replace the server name, alias, and certificate paths with the actual values that apply to your setup.
Step 4: Restart the Server
Finally, restart the server by clicking Stop in the XAMPP control panel, then Start. This will ensure that the new SSL certificate is applied correctly.
Test your SSL Installation
After you install an SSL Certificate in XAMPP, you can and must scan your certificate. With the use of advanced SSL tools, you can easily receive immediate reports on any potential errors or issues. This proactive approach ensures that your website is secure and your visitors’ data is protected, building trust in your brand. Don’t leave anything to chance.
