How to Sign a PowerShell Script Using Code Signing
Before using the PowerShell script, you should be aware that it’s safe to use and not tampered with, which can harm the system. But to get assurance and safe use, the developer must digitally sign a PowerShell script with a cheap code signing certificate offered by known certificate authorities like Comodo or Sectigo.
Once your PowerShell script is digitally signed, your unique digital signature gets embedded. It ensures that a genuine software development company has developed a PowerShell script and that their software or digitally signed PowerShell script won’t harm the computer system.
Nonetheless, suppose you’ve got a question about how to code sign the PowerShell script to assure users. In that case, it’s trustworthy and can run in the computer system without issues, and then it can keep reading.
But before we dive into the steps of PowerShell script code signing certificate, let’s first find out what are some of the prerequisites you should be aware of.
Digitally Signing a PowerShell Script: Requirements to Know
Once the patch management system tasks get on autopilot mode using PowerShell scripts, your next task should be to ensure those scripts will remain secure and won’t be tampered with by any malicious malware that can harm the user’s device.
And to do so, you’ll need to sign the PowerShell script using a code signing certificate. But before you start code signing, you’ll need to ensure the following:
- A PowerShell script has to be saved in the folder you created
- A device is running Windows Operating System 8.1 or above
- Windows PowerShell Script version should be equal to or above 5.1
Once you get the requirement, you can move forward with the PowerShell script code signing process.
Steps for Digitally Sign a PowerShell Script
Purchase Sectigo code signing certificate a well-known certificate authority, because code signing is possible only when you have a code signing certificate. It’ll help secure your PowerShell script from unauthorized access or third-party modifications.
Lastly, it assures users and the computer system that the signed PowerShell script is safe to use and comes from a genuine developer.
Furthermore, ensure you’re not using a self-signed code signing certificate because the system does not trust it. Instead, it will generate warnings.
In other words, the PowerShell script signed using a self-signed code signing certificate will be treated similarly to the unsigned PowerShell script and will not be trusted.
Access Windows PowerShell in an Admin Mode
You’ll require to open and run Windows PowerShell in an admin mode to codesign PowerShell scripts. For opening
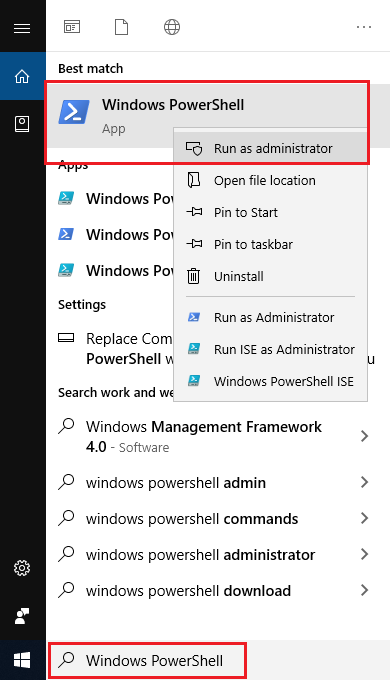
- Click the Start button
- Type PowerShell in the search box
- Once the list appears, select the PowerShell application
- Right-click the PowerShell application and choose the option Run as Administrator
Select the Code Signing Certificate
If you’ve got more than one code signing certificate, select the one you want to use to sign your PowerShell script. Similarly, you’ll require to enter the below command:
Get-ChildItem Cert:\EgUser\MyFolder -CodeSigningCert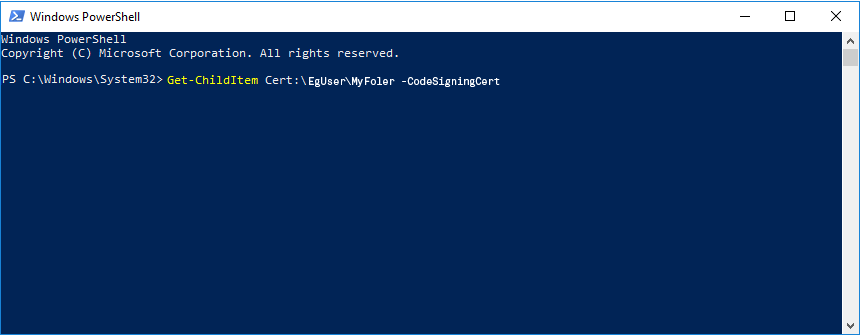
Further, if you first need to view all the available code signing certificates and then want to decide which one to use. Then you can use the below method:
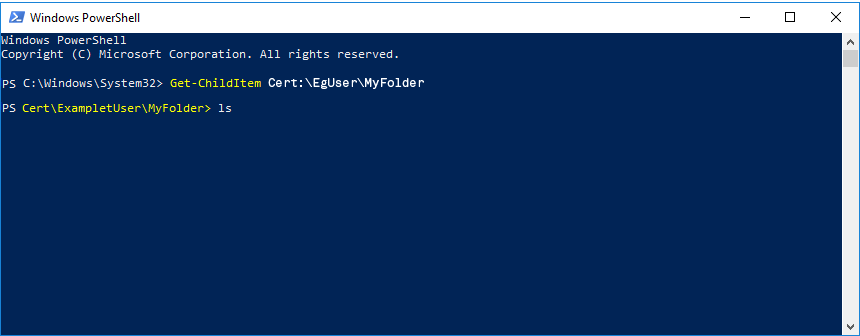
Method to Change Directory
Enter the command for going where code signing certificates are stored:
cd Cert\EgUser\MyFolder
Type ls and press Enter
The Command Method
Type the below command:
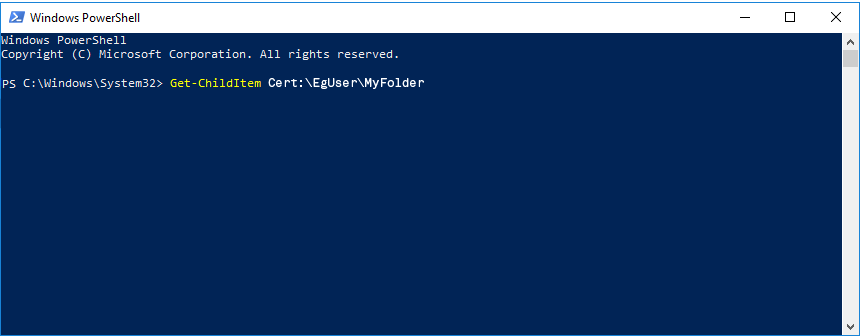
Get-ChildItem Cert:\EgUser\MyFolder
Hit enter
Note:
If the code signing certificate is stored in any other folder, then ensure you replace the file path Cert:\EgUser\MyFolder with the one where it’s stored. For instance:
Cert:\ EgUser\MyFolder -CodeSigningCert [0] or Cert:\LocalMachine\MyFolder -CodeSigningCert [2]Once you press the Enter button, your code signing certificate will appear on the Windows PowerShell. Here is an example showing all the code signing certificates that are in the system.
After getting the list of code-signing certificates, you can go with the one you need and move further for code-signing your PowerShell script. And then, you’ll have to enter a command that selects the code signing certificate you want from the given list. Below is the command for the same:
$cert = (Get-ChildItem –Path Cert:\LocalMachine\MyFolder -CodeSigningCert)[4]Code Sign A PowerShell Script
Once the code signing certificate is selected, you can save the variable name $cert and start signing it. For digitally code signing your PowerShell script, you can go for the command Set-AuthenticodeSignature, which looks like this:
Set-AuthenticodeSignature -FilePath SCRIPT_PATH -Certificate $cert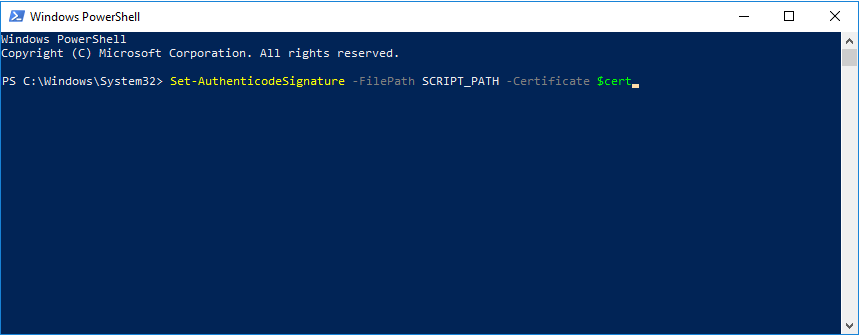
Note:
Replace SCRIPT_PATH with the actual path of the PowerShell script.
And then your code should look like this:
Set-AuthenticodeSignature -FilePath C:\CodeSigningCertificate\eg_powershell_script.ps1 -Certificate $certFurther, it’s recommended to timestamp once you code sign your PowerShell script, so the signature remains valid after your code signing certificate expires. Follow the below command for the same:
Set-AuthenticodeSignature -FilePath C:\CodeSigningCertificate\eg_powershell_script.ps1 -Certificate $cert -TimeStampServer https://timestamp.<certificate-authority-name>.comNote: Change <certificate-authority-name> to certificate authority’s name.
Verify Digital Signature After Signing PowerShell Script
Once you code sign your PowerShell script, verify whether it’s signed correctly. Similarly, to verify, follow the below steps:
By Opening Your Signed PowerShell Script
- Open your signed PowerShell script using a text editor like Notepad.
- Once you open it, go to the bottom of the script and check for the signature block. If the PowerShell script is signed correctly, you should see the start and end with #SIG#
Checking Signature From Properties
You can verify your digital signature from properties by following the below steps:
- Go to Windows Explorer and then go to the folder where your code signed PowerShell script is saved.
- Right-click on the selected folder. And from the list, select Properties.
- Click on the tab named Digital Signatures.
Verify Signature by PowerShell Command
You can verify that the PowerShell script is correctly signed using the command. You’ll need to enter a command and return the output showing whether it’s signed correctly. Follow the below steps:
Open PowerShell Windows and type the below command:
Get-AuthenticodeSignature -FilePath PATH_OF_PowerShell_SCRIPT | Select-Object -Property *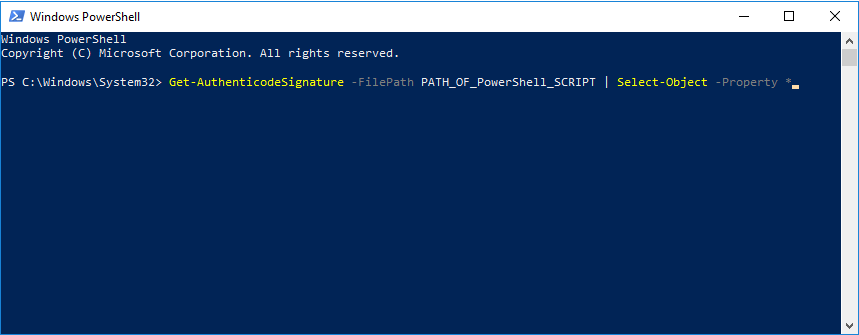
Note: Change PATH_OF_POWERSHELL_SCRIPT to the actual path where you’ve saved the script.
Ending Note
By digitally signing your PowerShell script, you assure users that you’ve developed the script and that it hasn’t been tampered with. Here, we’ve given the step-by-step process of code-signing your PowerShell script. We hope it’ll be helpful for you.
